This is the spine and cover:


I used a binder I already had that my husband had probably picked up at a yard sale some place. We buy binders alot when we see them places and they are super cheap. First I decorated the front of the binder. I cut a piece of scrap book paper to fit. Then added a piece of white card stock and named our binder with scrap book stickers. The covered up portion is our last name. I also used a few more stickers to add a little decoration :) I then used the scraps from the orange poke a dot paper to decorate the spine. I didn't have enough stickers to spell out the front page title so I just put "House" on it and figured if anyone had to find my binder they would be able to figure it out with just that.
On the inside of the binder is a pocket that I added an " Emergency Information" page I printed out from Life....Your way. I also have a zippered pouch that holds my pencils, pens and dry erase markers.

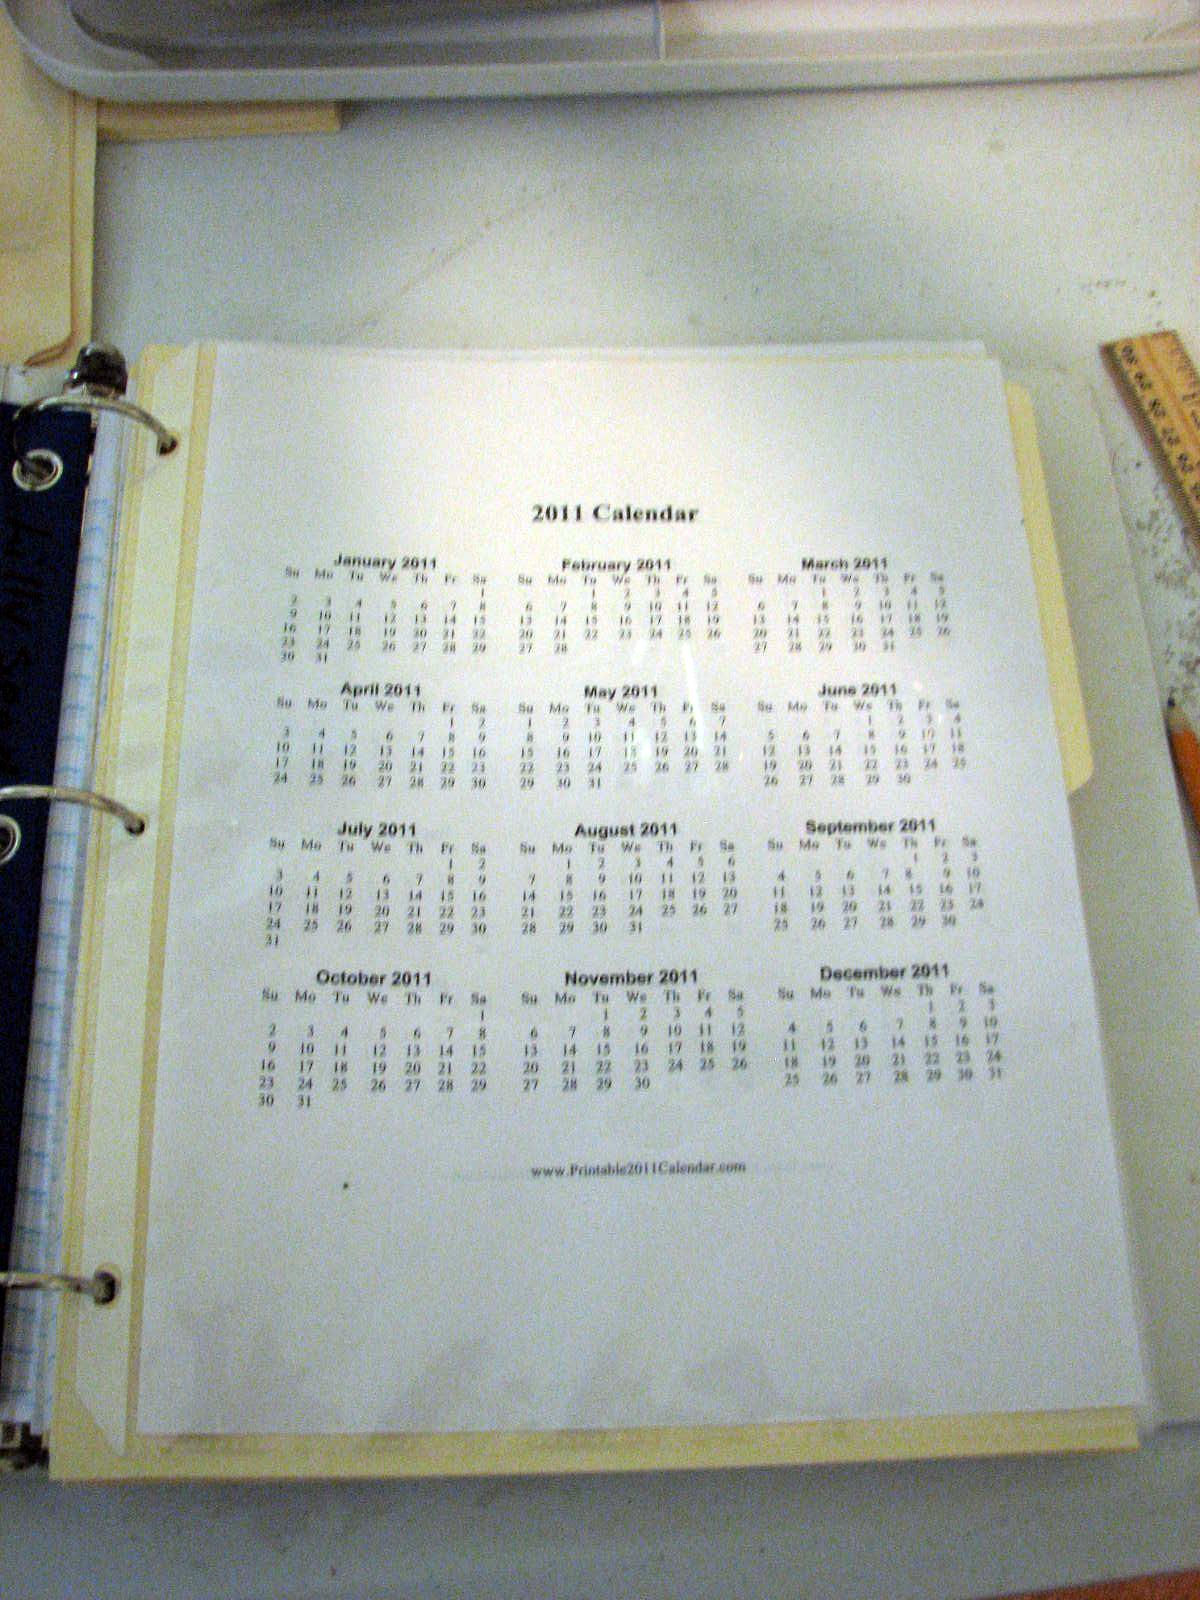
After that I added a whole year calendar in a page protector for 2011 and 2012
The first section of the binder is my "Planner" section. I used some file folders I already had and cut them down to size to fit the binder and use as dividers. I then printed some clip art and glued that on each divider. I also used my label maker to make labels for the tab section of the divider.

All the pages in my binder are in page protectors. In the planner section I use dry erase markers on them so that I do not have to continue to print pages. So far this has worked out well. My first page in this section is a daily planner page

The next two pages are a weekly planner page. This makes it easy for me to see at a glance what is going on in the week. All 3 of these pages I found at Organized Home .

Next I have a two page blank monthly calendar that I can fill in with a dry erase marker myself each month. This has been very helpful when making appointments to be able to look at the whole month. I found this calendar here donnayoung.org I forgot to take a pic of it so you will just have to click the link to take a look :)
Next I have a cleaning checklist that I found here at Simple Mom . Then I also have a menu planning page that I printed from The Project Girl . I printed this on both sides of the paper so I could menu plan two weeks at a time. The very last thing in the Planner section is some notebook paper that I use for grocery lists.

The next section in my binder is the Calendar section

I have a calendar program I use on my computer to add all important dates for our family. I have printed this off up until December of this year. At the beginning of each month, I plan to make sure the calendar in the binder is up to date with the one on my computer, if not I will print it again. I also have each of the kids school calendars as well as my husbands gig calendar and college calendar.

Each of the 4 kids who are still in school have their own sections. I printed some clip art for them and also added their names with my label maker on their dividers.
Kid #2

Kid # 3

Kid # 4

Kid # 5

In each of their sections I have put an "Medical Information" page which I printed from Finding Home . I also included another copy of their school calendar, bus schedule, bell schedule and class schedule if those things apply to the child. I will also be including any extra curricular activity schedules they may have. In Kid # 5's section I will be keeping her weekly teachers notes and spelling lists that she brings home on Friday's.
The last section in the binder is my projects.

My husband made me this form for me to keep track of the things I would like to accomplish in our house. There is a space to fill in for each room of the house.

I have a book list and movie list that I also printed from Finding Home in this section too. The very last thing is more notebook paper which I have already started a "wish list" on for items I would like to have as gifts.
That is all there is to it. It took awhile to put the binder together but I am so glad I did! It is proving to be very helpful already this school year! I however, did not include a financial section in this binder. I have decide to create a separate one for those items. My home management one will occasionally leave the house with me. I do not want to be carrying around my important financial information with me so I decided to make a separate one that will always stay in our home in a safe place.
Great Idea, I use clip boards to keep track of what show I am rehearsing. They hang on nails by the back door. When I go out the back I grab the board that I need for that days rehearsal. They are labeled High School, Jr. High, Studio, College, Civic Theater. All scripts and notes are attached, size charts for costumes schedules. It also helps me to focus on where I am driving. Yes, I have shown up at the wrong theater, when I am over tired. At Christmas time I can have three shows opening and closing with in a few weeks.
ReplyDeleteThanks! The binder was alot of work to put together but has been so worth it! I use it everyday!
ReplyDeleteThis is a great idea! Thanks for sharing all the links so I can put together my own binder!
ReplyDeleteThanks so much for taking the time to read my blog Lisa!
ReplyDeleteI really like the idea of adding medical info to the binder so everyone can easily access it!
ReplyDelete